




Cassette tapes have returned as a serious commercial revenue stream for independent labels, touring artists, and boutique publishers. Yet, production managers frequently run into frustrating quality issues with packaging. Standard stickers lift at the edges, ink rubs off from finger friction, and labels slip when tape players get warm inside.
Using a dedicated coated paper label solves these mechanical and visual failures. The mineral clay layer applied to the paper stock creates a smooth, uniform surface that locks in ink pigments while resisting daily handling. At Youyi, we manufacture engineered label solutions tailored specifically to the tight tolerances of audio cassette manufacturing.
Below is an industrial guide to specifying, designing, and manufacturing custom cassette shell labels that run smoothly through high-speed duplication hardware and maintain high visual fidelity on store shelves.
Step 1: Select the Optimal Coated Substrate (Gloss vs. Matte & GSM)
The substrate forms the physical backbone of your cassette label. Raw, uncoated paper behaves like a sponge. It absorbs ink deep into its cellulose fibers, causing color desaturation and edge bleeding. A coated paper label controls this behavior through an inorganic mineral barrier that keeps the ink on the outer surface.
Gloss Coated Paper
Gloss coating reflects direct light, which enhances color saturation, contrast, and depth. It represents the standard for mainstream pop, electronic music, and vibrant graphic releases. The slick surface provides basic protection against finger oils and minor humidity changes during handling.
Matte Coated Paper
Matte stock diffuses light, eliminating glare under bright display lighting. It provides a tactile, organic look that appeals to lo-fi, acoustic, black metal, and classical genres. Matte surfaces hide minor shell imperfections better than gloss stock while presenting micro-typography with exceptional clarity.
Weight Specifications (80 GSM to 100 GSM)
Paper weight dictates mechanical performance on the cassette shell. Duplicators must avoid arbitrary stock selection and adhere to strict grammage guidelines:
Under 80 GSM: The paper lacks structural integrity. High-speed automatic label dispensers tear thin paper, and wet adhesive can soak through, warping the face sheet.
80 to 100 GSM (Recommended): This is the functional industry sweet spot. It provides enough caliper to remain flat while passing cleanly through rotary die-cutting systems.
Over 100 GSM: Heavy paper develops excessive memory curl. The internal stiffness fights the shell adhesive, causing corners to lift or flag along the tape window edges.
Step 2: Engineer Accurate Die-Lines and Mechanical Clearances
Cassette shells follow standardized international dimensions, but shell designs vary across manufacturers. Labels must match the physical injection-molded contours precisely to avoid operational jams in cassette decks.
Standard 2-Hole Labels vs. Full-Face Formats
A standard 2-hole label features cutouts for the two drive hubs and leaves the central tape viewing window exposed. This traditional style simplifies shell assembly and reduces paper mass.
Full-face labels cover nearly the entire front surface of the cassette shell, except for the drive holes and the small window opening. While visually striking, full-face labels require tighter die-cutting tolerances because any placement error results in exposed adhesive or overhang along the shell perimeter.
Critical Tolerances and Alignment
Tape player capstans and drive spindles spin at constant rates. Any contact between the label edge and moving drive parts adds drag, causing pitch fluctuations known as wow and flutter.
Bleed Allowance: Always include 1.5mm to 2mm of exterior bleed beyond the cut line to prevent white margins during high-speed slitting.
Safety Margin: Keep text, catalog numbers, and logos at least 1.5mm away from all cut lines, including internal drive spindle cutouts.
Hub Clearance: Maintain at least 0.5mm clearance around the drive sprockets to ensure the label does not rub against rotating mechanisms.
Step 3: Manage Color Reproduction, Dot Gain, and Typography
Coated stock interacts with printing inks differently than standard offset papers. Because the surface barrier stops liquid absorption, ink droplets stay compact on the sheet. This low dot gain allows designers to execute intricate vector layouts, tiny copyright notices, and dense artwork without muddying up.
Commercial printers working with cassette runs rely on controlled ink densities. At Youyi, press technicians monitor dot spread using calibrated densitometers, maintaining sharp edges across production runs of 500 to 500,000 units.
Rich Black Formulations
Single-color black ink (100% K) printed on coated stock often looks dark gray or chalky under retail lighting. To achieve a deep, uniform black background, use a calibrated Rich Black formula:
Cyan: 30%
Magenta: 30%
Yellow: 30%
Key (Black): 100%
Avoid excessive total ink coverage (Total Area Coverage should stay below 300%). Over-inking slows drying times and risks ink offsetting between rolled sheets.
Typography and Fine Details
Due to the small physical size of cassette labels (roughly 89mm x 42mm for standard profiles), typography requires disciplined layout practices:
Set primary body copy and tracklists at a minimum of 5 pt to ensure legibility.
Use 100% solid Black (0C, 0M, 0Y, 100K) for legal text and barcodes to prevent four-color registration misalignments.
Use Pantone Matching System (PMS) spot colors when branding demands an exact color match across vinyl sleeves, CD inserts, and tape labels.
Step 4: Specify High-Tack Adhesives for Thermal Durability
The paper substrate carries the design, but the adhesive chemistry determines whether your product survives real-world playback. Standard craft sticker paper uses weak glues that fail under light stress. Cassettes demand industrial adhesives designed for smooth plastics like polystyrene (PS) and polypropylene (PP).
The Operating Temperature Challenge
Car tape players and portable personal stereos trap heat during operation. Electric drive motors, transformer components, and mechanical friction cause interior deck temperatures to climb between 40°C and 60°C.
Standard hot-melt rubber adhesives soften and liquefy under this sustained thermal load. The glue slides out from under the paper, contaminating the drive belts, pinch rollers, and capstans. Once glue leaks into the tape mechanism, it can ruin both the playback deck and the magnetic tape itself.
Permanent Acrylic Emulsion
B2B cassette duplication requires permanent, cross-linked acrylic adhesive. Acrylic compounds resist thermal degradation up to 80°C. They exhibit high initial tack, bond quickly to molded plastic surfaces, and resist plasticizer migration from the cassette shell.
A permanent acrylic adhesive ensures your coated paper label remains flat, resisting corner curl throughout years of repeated playback and storage.
Step 5: Select the Right Delivery Format for Assembly Scale
Label design must account for the mechanical realities of the duplication floor. How labels are delivered affects packaging labor costs, scrap rates, and turnaround speeds.
Digital Printing for Short Runs
Independent labels and boutique artists running editions of 100 to 500 tapes benefit most from digital printing. Digital presses require no expensive printing plates, accommodate variable data, and deliver fast changeovers for multiple album variants.
Rotary Flexo and Offset for Bulk Duplication
High-volume operations exceeding 1,000 units per title require rotary flexographic or high-precision offset presses. These technologies drive down unit costs, deliver uniform ink thickness across large surface areas, and maximize run speeds.
Roll Labels vs. Sheeted Formats
Your application method dictates the final packaging format:
Sheeted Labels: Cut into individual sheets containing two to four labels per sheet. Best suited for manual peel-and-stick application in low-volume artisan workshops.
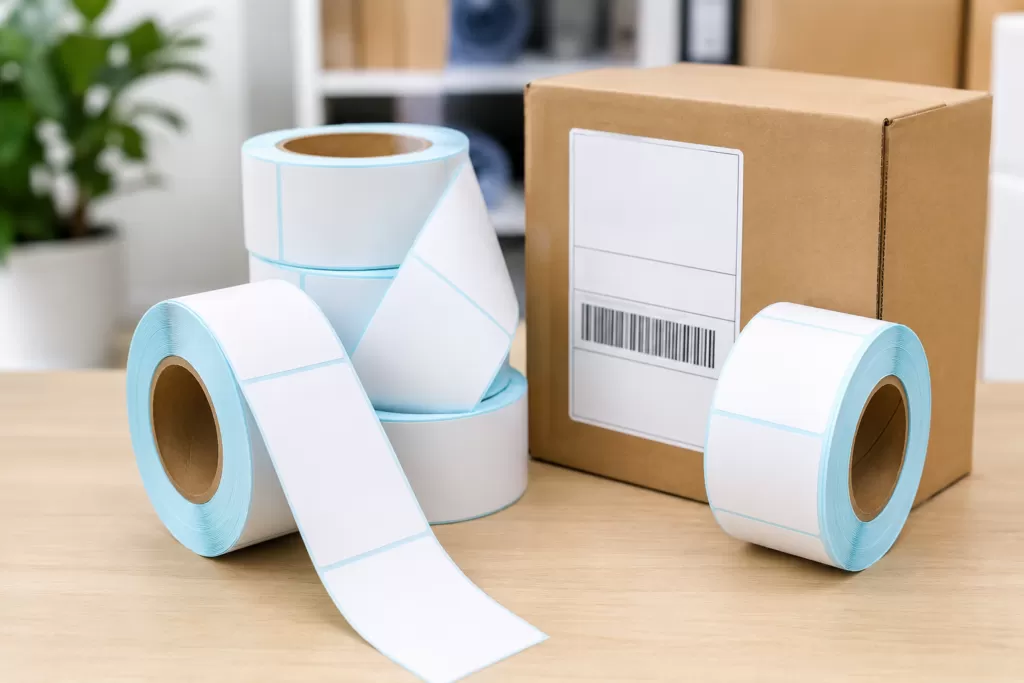
Roll Labels: Finished on standard 76mm (3-inch) cardboard cores with consistent spacing (typically 3mm) between die-cuts. Essential for automatic labelers such as Tapematic, Gauss, or custom pneumatic applicators that place hundreds of labels per hour without air bubbles.
Quality Control and Environmental Testing
Before launching a large-scale release, run functional quality tests on prototype labels. Sound design requires physical validation:
The Heat Chamber Test: Place labeled shells inside an environmental chamber or domestic vehicle glovebox at 50°C for 48 hours to confirm zero edge lift or glue migration.
The Abrasion Test: Rub the printed label surface vigorously with a dry cotton cloth for 30 seconds to check rub resistance and verify that the varnish or laminate layer remains intact.
The Spindle Clearance Test: Insert the labeled cassette into multiple tape mechanisms to confirm that the drive sprockets rotate cleanly without contacting the paper edge.
Frequently Asked Questions
Q1: Why choose a coated paper label instead of direct shell pad printing?
A1: Direct pad printing (tampo print) works well for simple one- or two-color typography, but it struggles with photographic art, detailed gradients, and complex multi-color album covers. A coated paper label supports full four-color process printing (CMYK) plus spot colors at resolutions exceeding 1200 DPI, giving labels complete artistic freedom at a lower unit cost.
Q2: Will gloss coated paper cause glare problems when reading tracklists?
A2: Gloss coatings reflect light, which can create glare under direct, harsh spotlights. However, choosing high-contrast typography (such as crisp white text on a dark background, or deep black on a pale background) preserves legibility. If subtle, glare-free readability is your primary goal, choose matte coated paper instead.
Q3: How do I stop labels from bubbling during application?
A3: Air bubbles happen when labels are pressed from both ends toward the center simultaneously, or when paper stock is too thin. Use an 80 to 90 GSM stock with a rigid backing liner. Apply the label progressively from one edge to the other using a rubber squeegee or mechanical roller to sweep air out across the surface.
Q4: Can I run custom-printed cassette labels through an office laser printer?
A4: Commercial rolls and sheets coated for industrial offset or flexographic presses should never be run through office laser printers. Laser printers generate internal heat that can melt pressure-sensitive adhesives, ruining the printer's fuser rollers. Office duplication setups should only use blank label sheets explicitly rated for desktop laser or thermal transfer hardware.
Q5: What protective coatings work best over coated paper cassette labels?
A5: A UV varnish (ultraviolet-cured) provides the most cost-effective protection against surface scuffing and moisture. For high-end limited editions, an ultra-thin matte or gloss polypropylene (BOPP) film laminate provides maximum tear resistance and prevents oils from penetrating the paper substrate.
Source Commercial Cassette Labels with Youyi
Precision manufacturing defines whether your cassette release feels like professional merchandise or an amateur project. Choosing the right coated paper label substrate, pairing it with high-temperature acrylic adhesive, and designing around mechanical die-lines protects your brand and keeps your duplicators running smoothly.
Youyi supplies custom, factory-grade label solutions for duplication plants, record labels, and creative packaging agencies worldwide. We supply precision-slit roll labels, certified die-lines, and custom color-matched stocks engineered to withstand playback stress.
Contact the Youyi technical engineering team today to submit your artwork, request a quote for bulk duplication, or order our complete material sample kit for your next audio release.